| Applicable packages |
This article is for event organizers. If you are an event participant, please see our Resources for Participants section.Symposium Meetings and Webinars are some of the many ways you can incorporate synchronous interactions into your event. These interactions can range from small group discussions through Symposium Meetings to larger panels or seminars through Symposium Webinars. For information on organizing multiple simultaneous small video conferencing rooms on Symposium for networking and small group discussion, please see A guide to Tables.
Once you have created a Time Slot under Manage Event > Live Sessions, you will be asked to designate what type of live sessions you want to host within the selected time slot. While Tables is focused on small group interactions, the "Video conference meetings, webinars, and live streams" option allows for a broader range of specialization geared towards larger group interactions. You will be able to host multiple live sessions at the same time within the created time slot, and each session will last for the duration of the time slot to which it belongs.
For all hosting platforms, you will be asked to provide the title of the Live Session, the maximum number of participants, and a description. The maximum number of participants is used to calculate the number of credits used to host that session, which is then deducted from the total number of credits allotted to you per event (depending on your package). Event organizers and any moderators will not count towards the total participant count. Lastly, in the description field, you can provide information about the scheduled live session, such as an overview, speakers' names and information, links to any relevant asynchronous content, or any other preliminary message to viewers. Once you have populated all of the fields, you can hit the Create button in the bottom right hand corner to publish your Live Session information to your event page.
You may create as many Live Sessions as desired, and even have them overlapping, as long as they each have their own linked video conferencing room. These sessions, their descriptions, and links may be modified at any point throughout the uptime of your event, so you may go back and add to the description or replace the live session link with a link to the recorded session for asynchronous viewing after the session has taken place. A session can also be deleted after the start time if no participants have joined, allowing you to recover the credits that were otherwise accounted for by that session.
TABLE OF CONTENTS
- Symposium Meeting
- Symposium Webinar
- Zoom, Webex, Google Meet, embedded video, or another tool
- Managing Symposium Meetings
- Managing Symposium Webinars
- Recording Live Sessions
Symposium Meeting
Symposium Meetings are a great platform for small groups of people to convene without having to use a third-party video conferencing tool to create your event's meetings.
When you select Session Hosting Platform > Symposium Meeting, you will be able to change the following security settings: "disable participants' cameras;" "disable participants' microphones;" "disable participant share screen;" and "require participants to ask to join." Depending on the goal of your meeting as well as the audience size, different security features can be enabled and modified anytime before the meeting starts. During the meeting, the event organizer as well as any moderators will be able to control the webcams and microphones of participants. Moderators can be added both before the meeting starts and after the meeting has started, and will have similar controls as the event organizer. For longer lists of moderators, you can add multiple comma-separated emails into all at once. Other features available in Symposium Meetings include a participant list, group chat/messaging, raising hands, screen sharing, a virtual whiteboard, recording, and going live.

Symposium Webinar
Symposium Webinars are catered for larger presentations, such as keynote presentations or panel discussions. When creating the Webinar, you will be asked to provide a title, the maximum number of participants, a list of moderators, and a description. During webinars, one or a few people are spotlighted so that participants are able to automatically focus on a select group of people without being distracted by other attendees. Participants are also unable to turn on their video cameras and microphones, maintaining the focus on the speakers and also preventing any interruptions.
Similar to Symposium Meetings, you can also add moderators by inputting their email addresses individually or in the form of a list.

Zoom, Webex, Google Meet, embedded video, or another tool
If your purchased plan does not include the amount of credits you need to host meetings via Symposium's built-in video conferencing tools, you can use other platforms by selecting Zoom, Webex, Google Meet, embedded video, or another tool under Session Hosting Platform.

Under the Session Access Link field, you may provide a link to a third party video conferencing tool such as Zoom, Webex, Microsoft Teams, or Google Meet. Additionally, if you have a pre-recorded video you would like to share during your event, you can provide a link here. If you only have a recording file (ex. .mp4) of the video, you can create an external link by uploading it to Google Drive, Youtube, or another video sharing platform.
NOTE: If you’d like oral presenters to deliver their uploaded presentations live, you may link the asynchronous presentations that have been uploaded to your event in the Live Session description (as shown in the second live session below). This will allow people to reference those presentations before, during, and after the live session starts, and leave comments as they digest the information.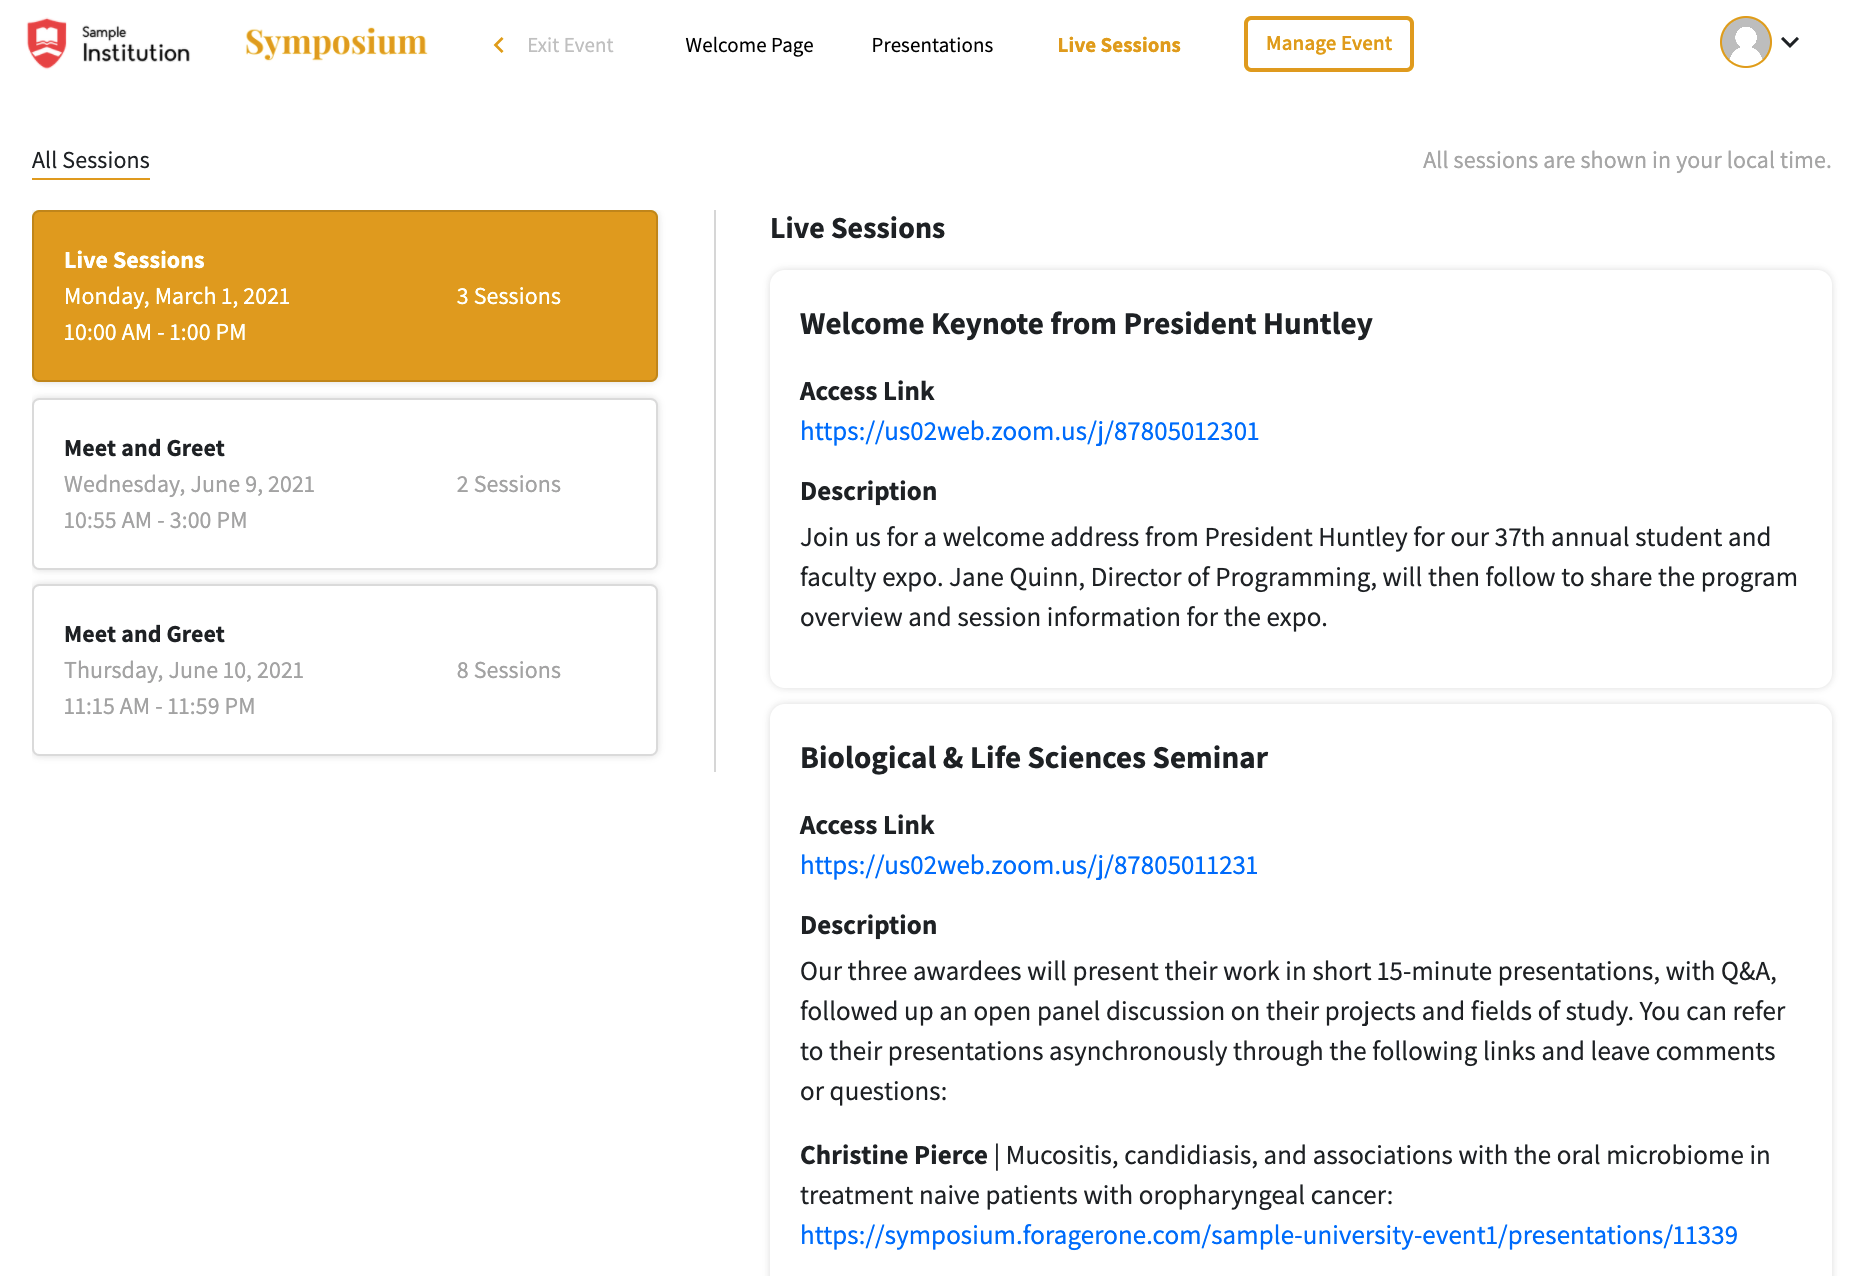
Managing Symposium Meetings
Once a Symposium Meeting begins, registrants will be able to click Live Sessions, select the Live Session they would like to join, and click “Join Live Session” on the specific meeting they would like to join. When joining a meeting, they will be prompted to allow access to their device’s camera and microphone, and have time to check their video and audio as well as edit the name they will appear as during the meeting.

If you enabled "Require participants to ask to join" for your Symposium Meeting, you will see a notification pop up during your meeting whenever someone is trying to join your meeting. You will either have to allow or not allow the specific participant to join your meeting. Symposium Meetings do not require admin/moderators or participants to download any third-party applications; the live session is hosted directly on Symposium within the browser.


Participants can stay in the meeting until the session ends, or leave the meeting to join another Live Session and/or navigate to another part of the event. As an event organizer or moderator, you have the ability to end the call when you leave, or choose to leave the call while letting other participants stay in the call.

Depending on the security features you selected as you were creating the event, participants may or may not be able to share their screen during the meeting and turn their audio and video on or off.
As an administrator or moderator, you will be able to ask participants to turn on their audio and video during meetings by first selecting the Participants icon in the dashboard, then finding the participant through the "Search Participants" field or participants list, and finally clicking either the microphone or video icon.

The specific participant will then receive a message indicating that the host has asked them to turn on their microphone or camera. In order to mute a participant's microphone or turn off a participant's camera, you need merely click the mic or camera icon next to the participant name, and their video or microphone will immediately turn off. The participant will not receive a request notification.

Currently, the Symposium Meetings interface supports up to 16 participant videos at a time. For larger Meetings, the first 16 people who arrive at the meeting will have their video displayed to all participants. This stays constant throughout the duration of the Meeting. However, moderators may pin participants (up to 16) so that the main speakers are spotlighted for everyone in the Meeting.

Administrators and moderators can also change the configuration of the meeting layout by selecting the gear icon in the top right corner, as indicated below. You can choose to set the layout as spotlight, sidebar, or grid, as well as prioritize pinned individuals or the speaker. The layout can be changed or switched at any moment during the meeting and webinar.

If needed, administrators and moderators can remove participants from Live Sessions by selecting the indicated icon below. Once the icon has been clicked for any selected participants, they will be removed from the Live Session.

During the meeting, event organizers, moderators, and attendees can now collaborate together on a virtual whiteboard whether it be to discuss future projects, showcase different theories, or teach lessons. To access the whiteboard, please select the indicated icon below.

The whiteboard feature has a number of different functions as seen in the toolbar on the left side. Functions include selecting items, writing or drawing with a pen, editing text boxes, inserting different shapes, panning the screen, changing the color of the background of the whiteboard, and saving the image.

Another great way to collaborate and engage with your event participants is via polling. To create a live poll, please select Activities or the indicated icon in the dashboard.

You will then be able to customize your poll question and answers, as well as specify whether there is a correct answer and if you would like to set a timer. 
As of right now, polls cannot be created before the video conference has started, so please make sure that if you would like to create a poll to set aside time to create the poll.
Administrators and moderators can now easily add Live Streams to their Symposium Meeting. By selecting "Add Live Streams", you can add the Stream Key and Stream URL from a different platform, as indicated below. Once you had added all of the platforms you intend on broadcasting your meeting on, you can select Go Live.

If you have not added any Live Streams or platforms and then select Go Live, you will receive a message indicating that you have not added any Live Streams.

Managing Symposium Webinars
When a Symposium Webinar begins, registrants will be able to click Live Sessions, select the Live Session they would like to join, and click “Join Live Session” on the specific webinar they would like to join. When joining a webinar, registrants will be brought directly to the webinar as attendees cannot turn on their audio and video. As registrants watch the webinar, they will experience an 8-second delay from the video software to the actual presented video.

Recording Live Sessions
Recording is now available in Symposium Meetings, Webinars, and Live Streams! To record a Live Session, first join the Live Session and then select the record icon, as indicated below. Once the Live Session has started recording, the icon will appear in inverted colors.
To record:

When the Live Session is being recorded:

Once the Live Session has concluded, you can go to the event management side of your event, navigate to Live Sessions, find the specific Live Session that was recorded, and then select the edit feature. Once you have opened the specific Live Session through the edit feature, you will be able to locate and then download the recorded video file as indicated below.

Only those with admin privileges will be able to access and download the recorded video file. Please note that the recording will automatically delete after 7 days, so please download the video file immediately. Once the file has been downloaded, you will be able to share the video file with others by either sending them the video file or uploading the video file to a media sharing platform such as Google Drive or Youtube.
